Adding Images
There are four ways images can be added to your articles:
- Paste an image into the text editor (from the context menu or keyboard)
- Upload an image to the text editor using the cloud icon
- Drag & drop an image from file explorer into the text editor
- Externally source image from another website
These will be detailed below. Once the image is inserted, you can click it and then click the format menu (down arrow) in the toolbar for additional options. There you can "float" the image to the right or left, so that text wraps around it. You can also set the "alt" text on the image. This alternative text is used for screen-readers, and can help the search engine in locating the page. There is also an option in there to toggle a border for the image, which can be useful if the image has a white background.
Paste an Image
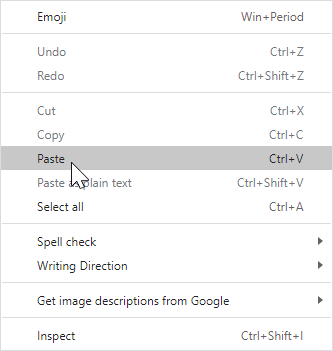
The simplest way to insert an image is to copy an existing image into the clipboard and then paste it into the text editor. You can do this using the context menu: right click an existing image and select "Copy". You can also use the keyboard and press Ctrl+C (on Windows) to put an image into the clipboard.
Next, go to your text editor where you want to insert the image. You can then right click and select "Paste". Alternatively you can press Ctrl+V (on Windows) on your keyboard to paste the image.
Images will be automatically resized if too large.
Upload Image
Another way is using the upload button. Attaching an image using the 'Upload Attachment' button, found on the content toolbar, inserts an image that is saved to the cloud or local server hosting your Staff.Wiki site.
To do so, place the cursor in the desired location in the text editor and then select the cloud icon with the up arrow.

You will then be prompted to find an image on your system (or network) in the file browser to upload.
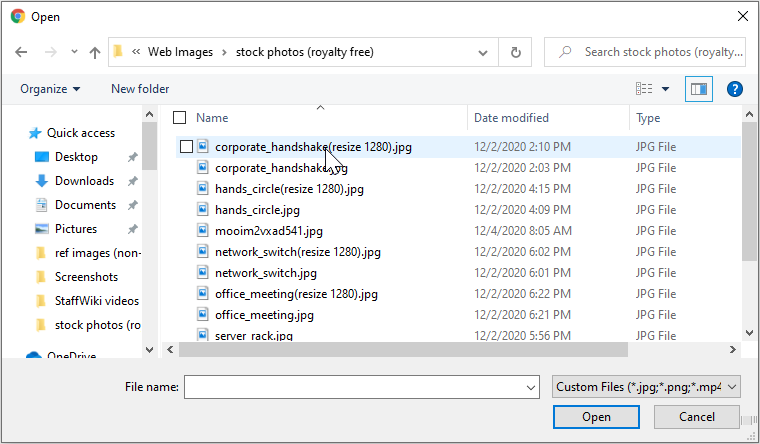
After selecting an image to open, it should now appear in your text editor.
Drag & Drop Image
Within File Explorer, find your image file. Left click and hold on your image file and then drag over to you content editor.
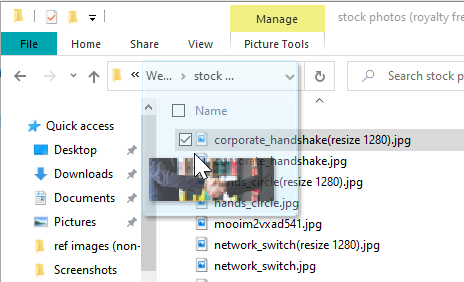
Wherever your mouse cursor is inside the content editor, that is where the image will be placed.
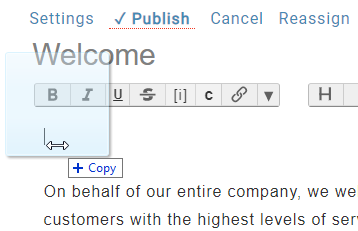
Once your left mouse button is released, the image will be dropped, uploaded, and will then display accordingly in the text editor.
Externally-Sourced Images
Inserting an external image from another website is accomplished by using the clipboard. Right click the image found on another website and then select 'Copy Image' in the context menu.
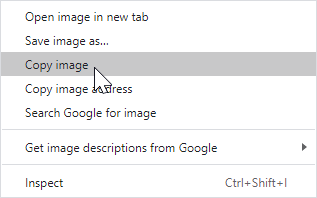
On your article text editor, place your cursor in the position you want to add the image and then paste (using either the CTRL+V keyboard shortcut or the right click context menu).
A copy of the externally sourced image should now be added to your article. It will be uploaded to the server and will not be reliant on the external image being available in the future.
Formatting Images
There are some options for formatting an image once inserted. If you click on the image, then go to the Formatting menu in the toolbar, you'll see some options like this: 
Normal: Reverts the image to its default settings.
Float Left: Shows the image to the left of any text.
Float Right: Shows the image to the right of any text.
Inline: Shows the image within text, so it flows in the sentence as if it were a character.
Toggle Border: Hides or shows a border around the image.
Toggle Full Width: Makes the image span the entire width of the page.
Set Alt: Sets the alternate text for the image, for use by screenreaders.