Importing / Provisioning Multiple Users
When first setting up your site, you may need to bulk-import multiple users at one time, rather than setting up each individually.
Note: The Professional and Enterprise editions of our platform can connect to Active Directory, and will import users as they log in automatically.We now also support SCIM user provisioning (as of version 6). You can read more about that at this article.
User tab
To import into the User tab, you should create a spreadsheet of users. The minimum column headers must be:
- UserID
- EMail (note: capital M is required)
- FullName
- Password
At the moment, both the UserID and the EMail will be the email address of the user. The FullName should be the first and last name of the user. The password will be a temporary password.
Note: If you are using Single-Sign On, you will still need to set a temporary password, but the user will not use this password and the password will be disabled after the first time they login.
Once you have set up this spreadsheet (for example, in Microsoft Excel), you will then perform the following steps:
- Login as an administrator login.
- Click on the User tab.
- Click the link that says "To view all users, click here". This will take you to the list of all users.
- Next click on the What's Next button to show the list of actions available.
- In that list, click "Import Spreadsheet".
- Next, copy the spreadsheet contents into the clipboard. Now go to the Import Spreadsheet action and paste the spreadsheet contents into there, and click OK.
This should then import the whole list of users into your system. Each user will be configured as an End User.
The users can then proceed to login using their temporary password or using SSO.
Note: You can also update users using this same feature. Any existing users with the same UserID will have their other values in that row updated. Any blank entries will be left as the existing value.
Importing into User Groups
If you need to import user lists into user groups, you can do that also with a similar technique.
First you must create the user group in the Configuration tab. Once the user group is created, you must go to the Users list under that group. You will need to make sure that the Users group is the focus on the screen. To do this, on the User Group go to the hamburger menu and click "Users". 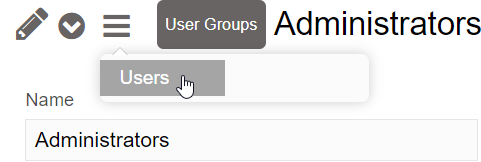
You should then see an image similar to this:
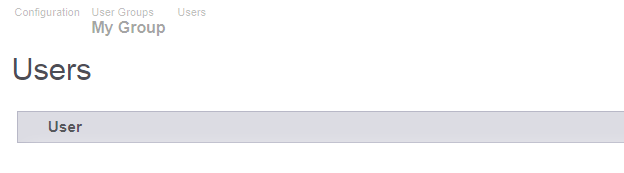
Now, go to the "What's Next" list and select "Import Spreadsheet".
In there you can paste in a spreadsheet you have prepared. The spreadsheet must have one column only, with User as the heading name (first row). Subsequent rows must contain the email address of the user. The user must already be added on the User tab, otherwise it will display an error.
Once the users are imported, the user will likely have to login again in order to gain the permissions of that user group.